How do you get and use an Outscraper API Key?
What is Outscraper API?
The Outscraper API extracts places data from Google Maps and companies' web sites.
How do I get the Outscraper API Key?
Getting your Outscraper API key is fast and easy. To do it, you have to follow these simple Outscraper API guidelines.
Step 1 – Create an account
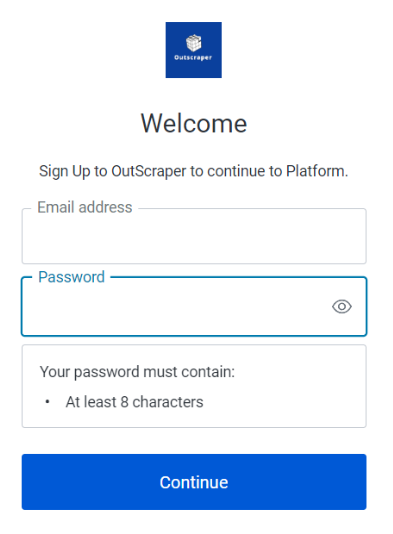
Click Here to open the signup form and create an account at the Outscraper Service with your email and password of choice as seen in the example image below.
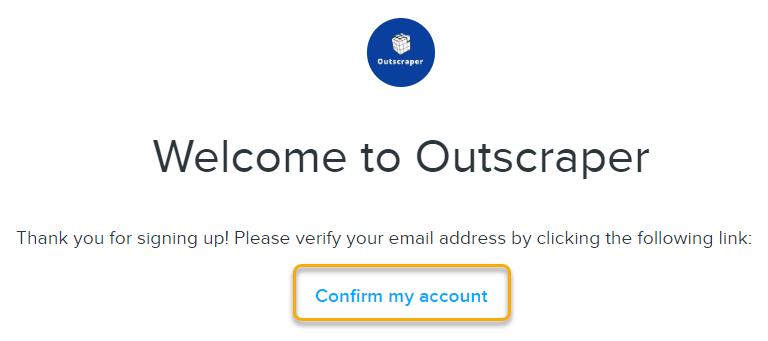
You’ll get a confirmation email from Outscraper Team ([email protected]) – don’t forget to follow the link in it to verify your account.
Step 2 – Setup Billing
Outscraper defaults to the FREE level and only charges when you go over the free monthly quota. There is no inherent cost to use this service up to certain levels like Google API. The Free Tier is the amount of usage you can use for free each month. This means any usage of the product below 500 requests during a month will be for free. So basically, every API account gets 500 businesses, 500 domains for Email & Contact info, 500 reviews, and 500 photos free each month. So you can continue to come back and use these 500 items each month and never have any out-of-pocket costs. Or you can do more at scale in one month and pay a bulk per item fee above the free limits. See FAQ on pricing for complete details
There are two options for billing, Prepaid and Postpaid.
Option 1: Pre-Paid

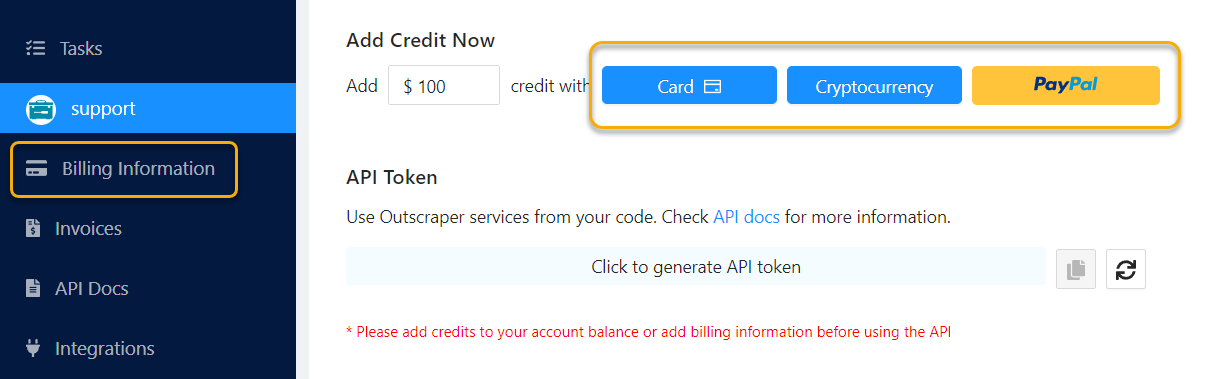
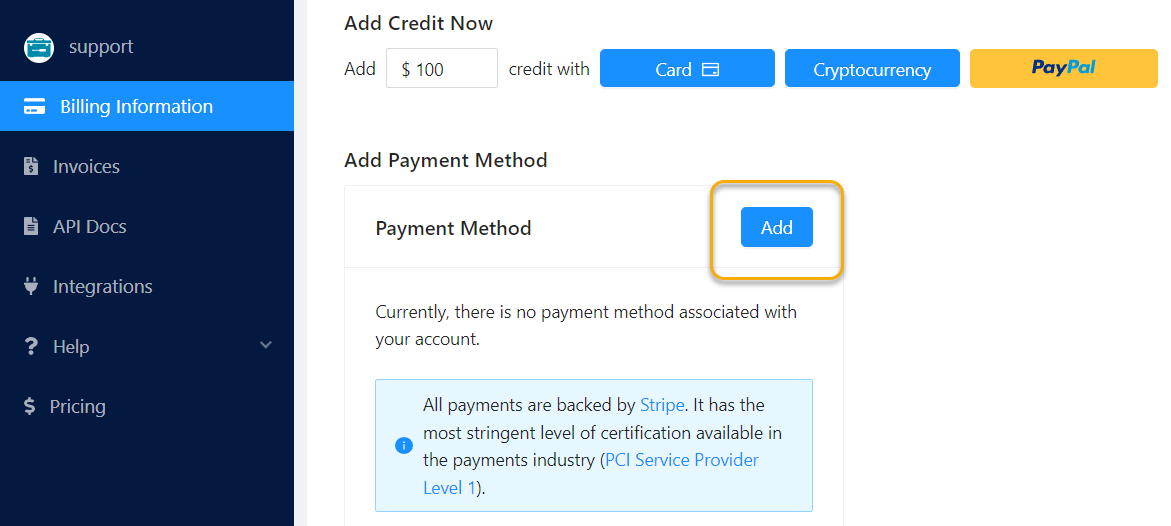
To setup prepaid amount, click on "Billing Information" and add desired amount and payment method to add credit.
Option 2: Post-Paid

When you run a task without any prepaid credits, a new billing period will be created. Once you have any amount due (IE above the free limits), you can stop it manually by clicking "Generate Invoice". Otherwise upon completion of your billing period, you will only receive an invoice for the use above the free tier.
If you choose post-paid you will need to add a card on file, just like you had to for the Google Maps API. Select "Billing Information" and then Add button.
Step 3 – Copy API
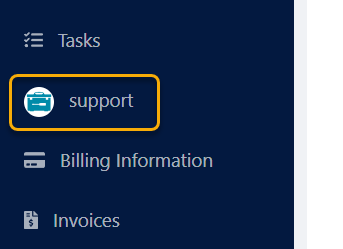
Go back to your main account tab. Yours may not say "support" with this logo. It may be your site or username with your icon or first initial. But click this button above the billing and your main account info will load.
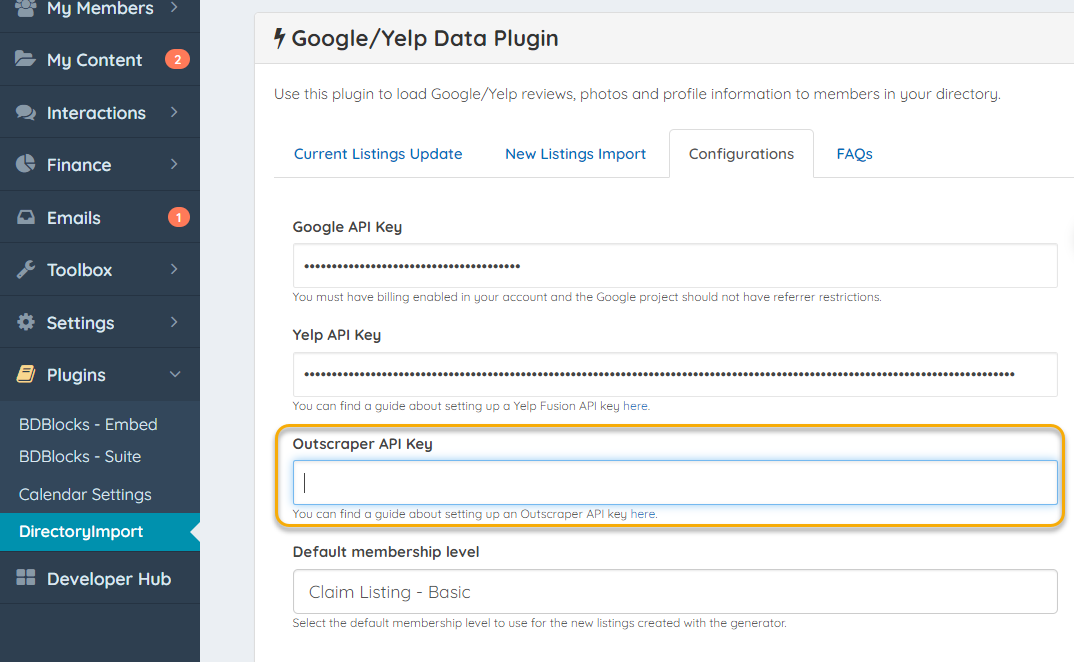
Your Outscraper API should now be filled in. Click the copy icon to copy the API code.
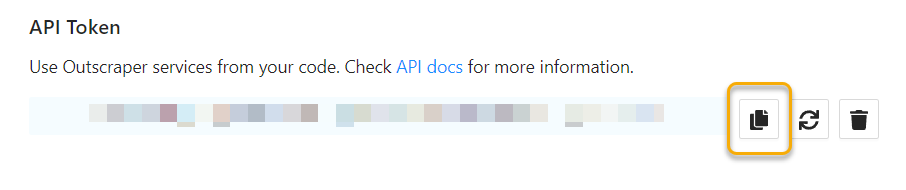
Paste it into the configurations tab of your DirectoryImport Plugin. Be sure to hit "Save Changes"